When it comes to painting Warbirds, a good portion of great execution is understanding how to complete complex masking processes. These types of designs require numerous “layers” and masking them in the correct order is integral to the success of the final piece.
For this particular tutorial, we will focus on “order of execution.”
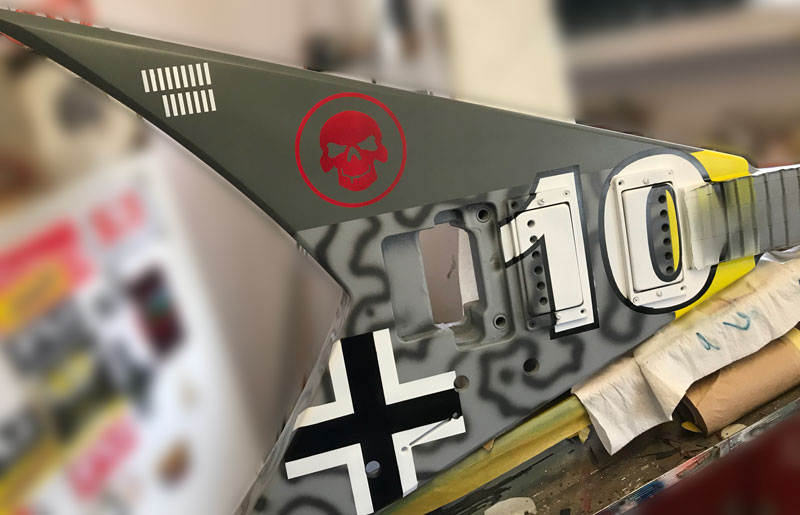
This design is going on a Jackson King V and is for a repeat customer. Here is the mock up that I created:
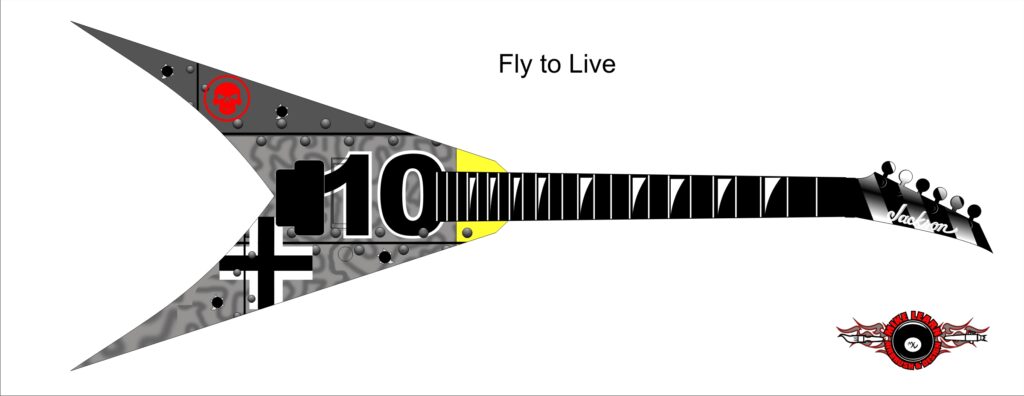
Obviously the first step is to prep the guitar and choose the base color. I will do the camp pattern first, so the entire guitars was based out in a neutral gray.
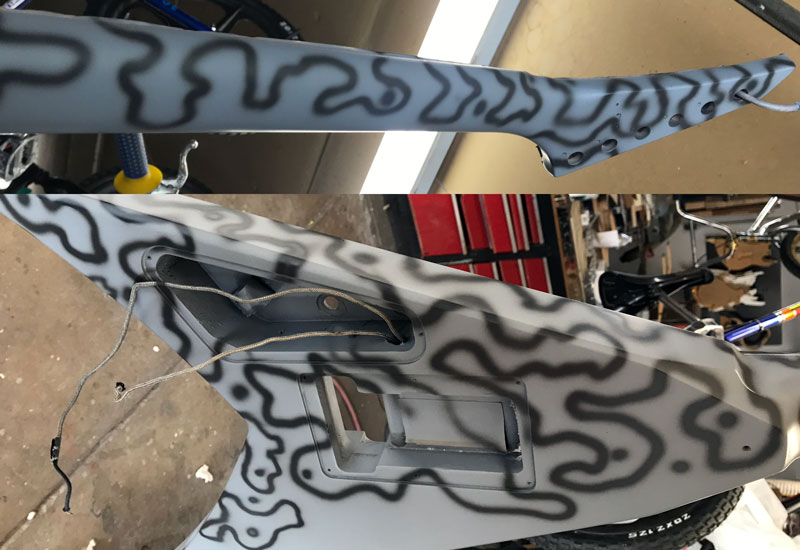
The camo pattern that we chose was one that was used in 1941-42. I randomly blasted random curves and dots along most of the body, front and back using black with a bit of green added and my airbrush.

The next step was to mask off the top gray field that will become a steel “plate”. I used a mini gun to spray the gray and then masked the smaller yellow area off and applied the color with my airbrush.
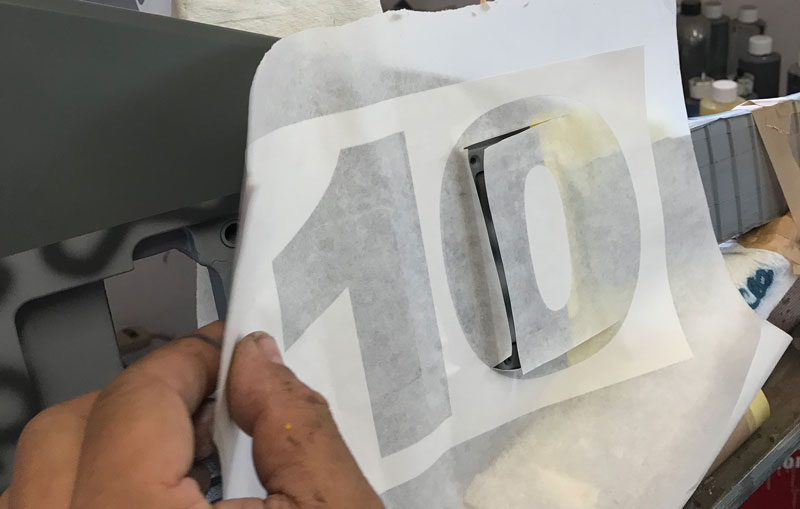
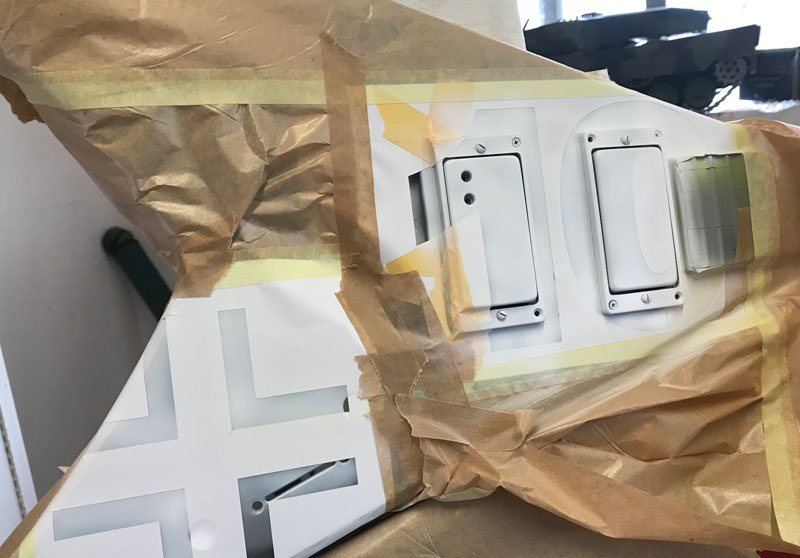
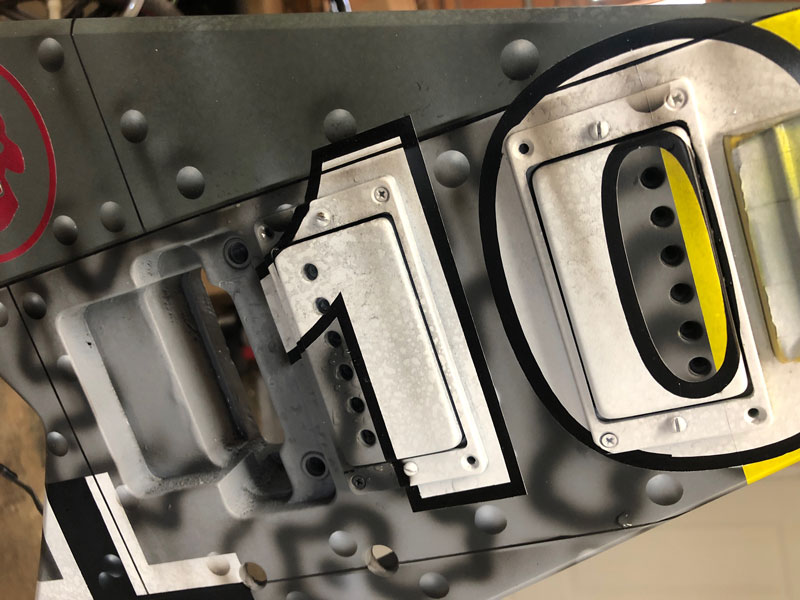
I will spray white next. I created the “10” and cross mask in CorelDraw and cut it on the plotter. Since the “10” is going over the pickup covers and rings, the masking is a bit tricky.

It requires laying down the cut mask on the flat surfaces, using a razor blade to carefully slice and place around the uneven surfaces.
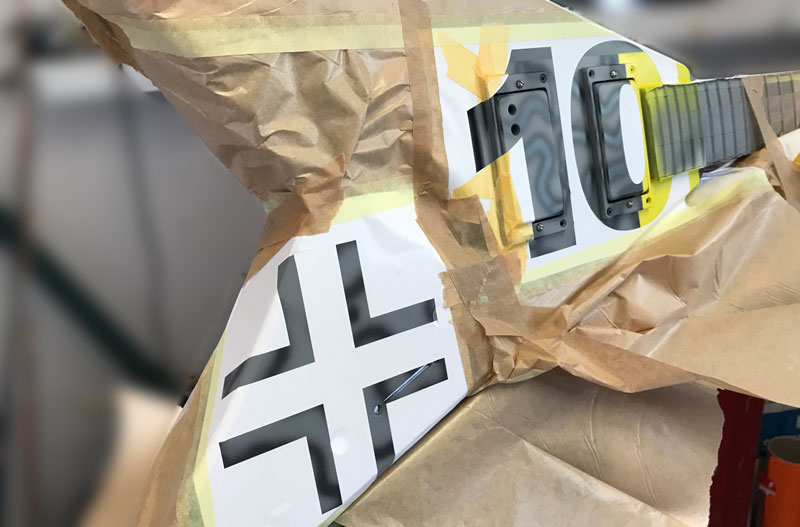
Once the mask positioned, I have to go back in with tape to cover the vertical edges.
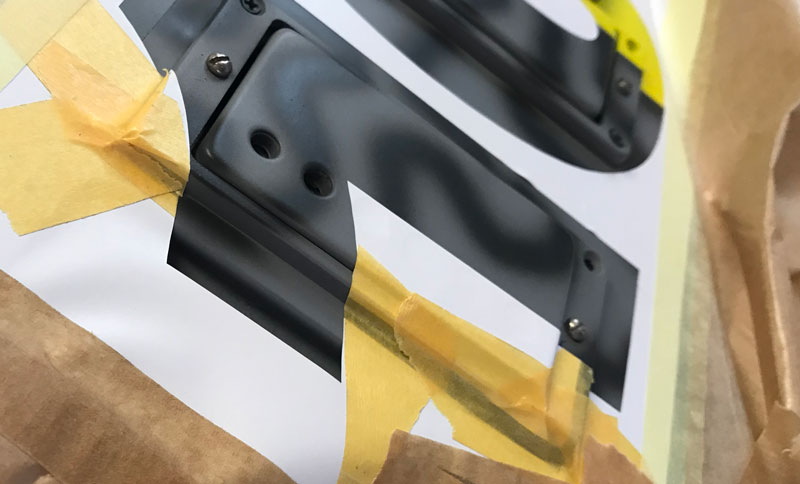
Close up of the tape work.
I spray the white with my airbrush. Don’t forget your mask!!
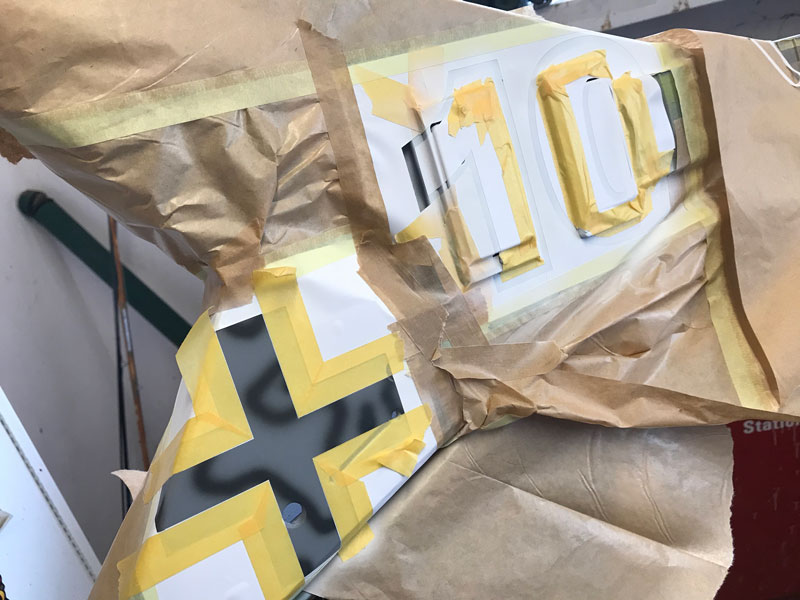
Now I mask off the white and get ready for spraying black. I used a plotter mask for the numbers, but since the cross was just straight lines, I simply used tape. Notice once again the careful masking around the uneven surfaces containing the pickup covers and rings.
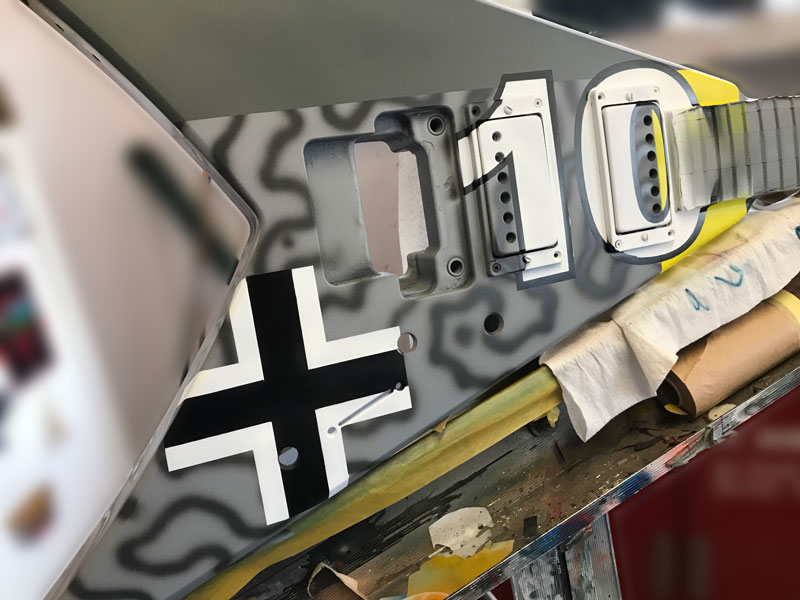
Black was sprayed with the airbrush and masks removed immediately.
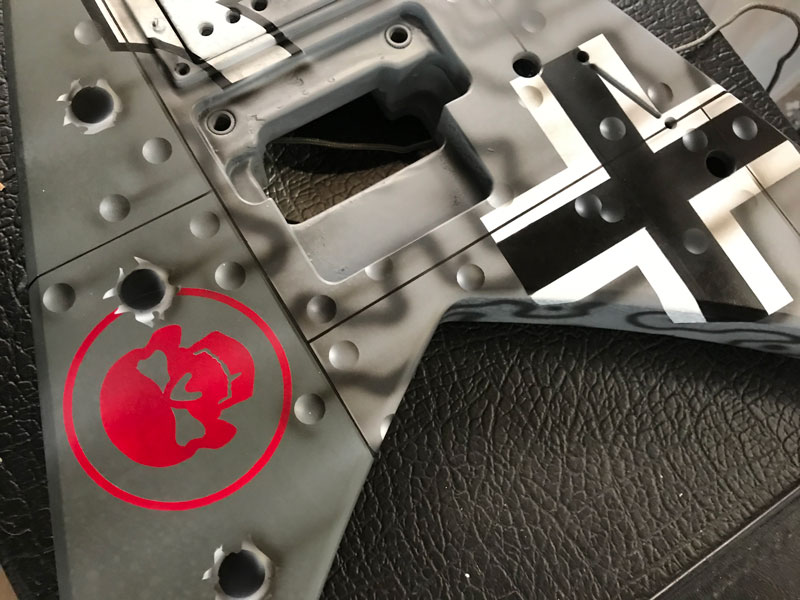
Next I added the kill marks and the company insignia.
Now that all the graphic pieces are laid out, I will add the rivets, plate marks, bullet holes and weathering. It is important that these elements are added AFTER the main artwork.
We made a video of the process of creating weathered rivets:
Be sure to LIKE and Subscribe to our YouTube Channel!! We are adding new content consistently and making it a significant part of the instructional aspects of our business!
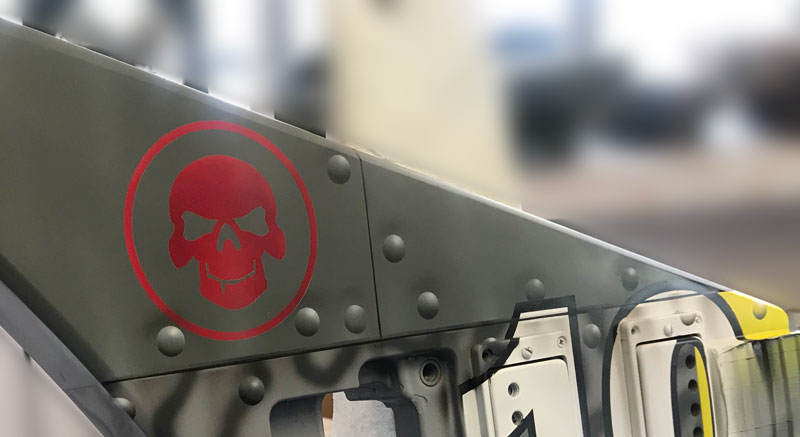
Here are a couple close ups after the video process.
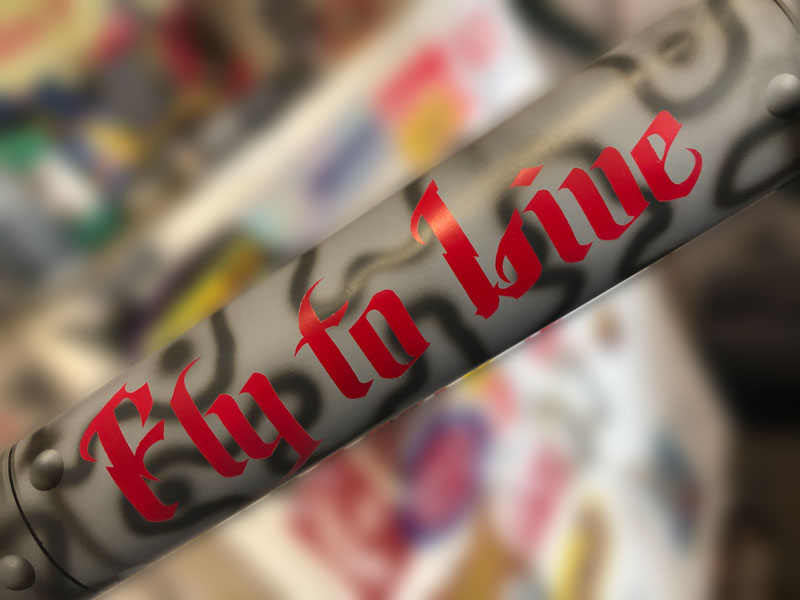
I added the “Fly to Live” slogan to the back of the neck.
The very last thing on a warbird is any bullet holes. If you think about it, it makes sense. We made a video on how to create realistic bullet holes, both in and out, on a previous warbird. Here it is:
Here are a few more close ups showing all the layers. (Prior to clear)

