If you haven’t seen the movie 300 – WOW! All I can say is, you HAVE to take the time! As with any graphically intense, popular movie, not long after its release, people started requesting this type of theme on bikes, cars, skateboards, whatever you can paint. We thought it would be timely and well received to put out a How To on a technique you can use to recreate the look and feel of the ancient Brass Helmets and Shields like the ones that were displayed in 300.
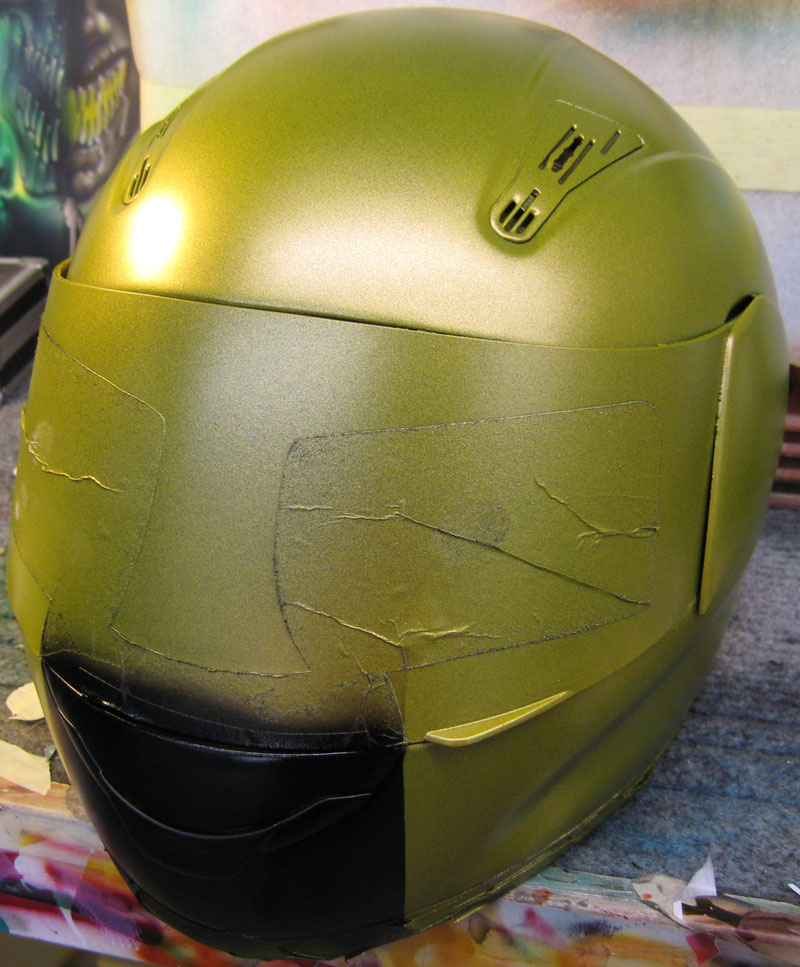
This project came to me with a request to turn a full face helmet into a Spartan Helmet. I started by fully prepping out the helmet. I remove the visor mounting hardware, tape off what needed to be protected from paint and red scotchbrite any dirt out of the factory finish. Then I wet sand with 400 grit and it is ready for paint. No need to prime. I based the helmet with Solar Gold Base. I then mixed black and Root Beer Kandy to creathe the main color that I will work with throughout the rest of the project.
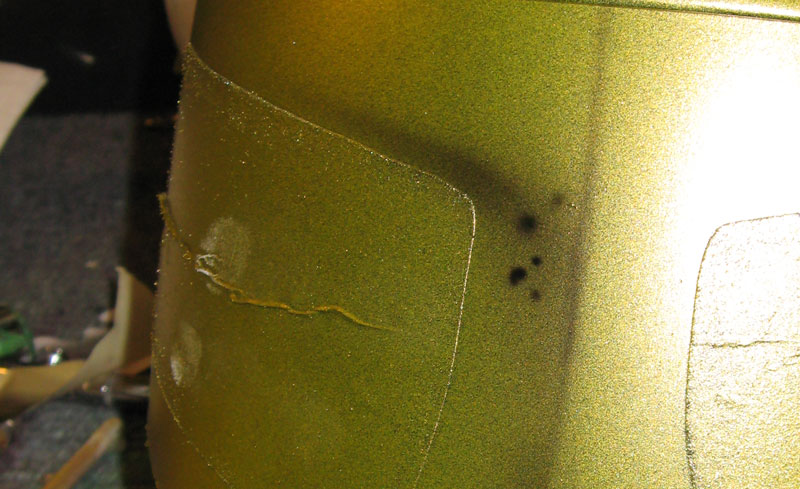
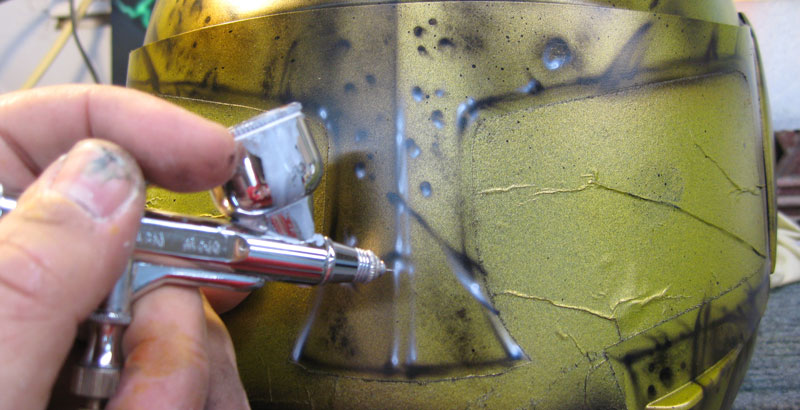
Using my dark brown color I lightly shaded around the eye piece and down the center of the nose piece to give the illusion of a “corner”. Now I begin working the technique to create the used/abused and battle worn look of a well-used Spartan helmet. I used a progression of airbrushed cracks and pits, texturing and stippling. The key to making the cracks and pits work is to avoid repetition. You want to be very random. Dont think about it too much and just take it a section at a time.
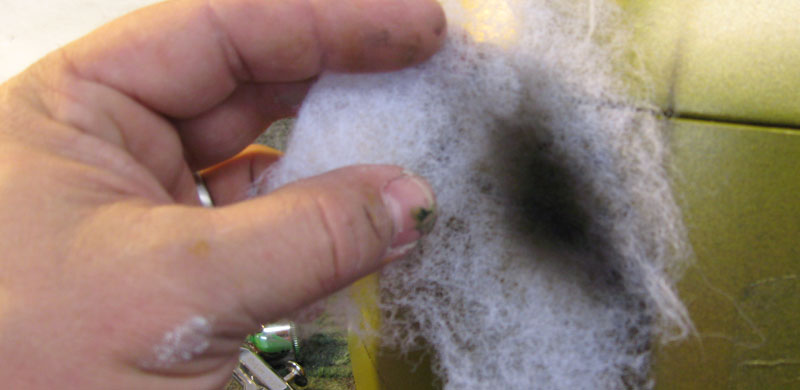
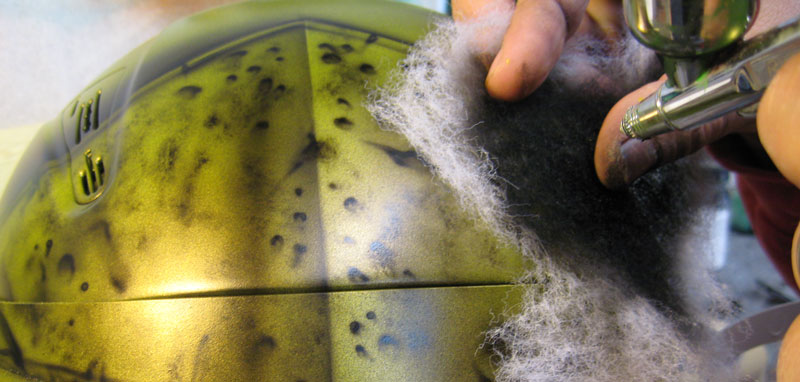
For the texture I am using a piece of my booth filter. I stretch it out a bit to allow for more paint to get through. This is one of my favorite texture techniques.
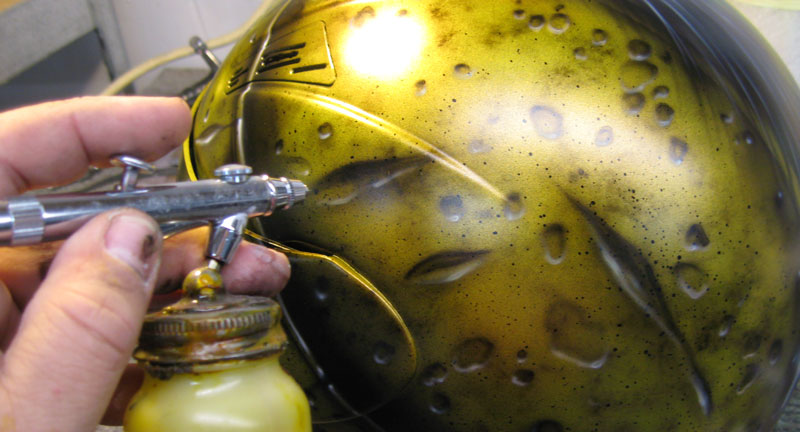
See how the filter gives the surface a worn and uneven feel.
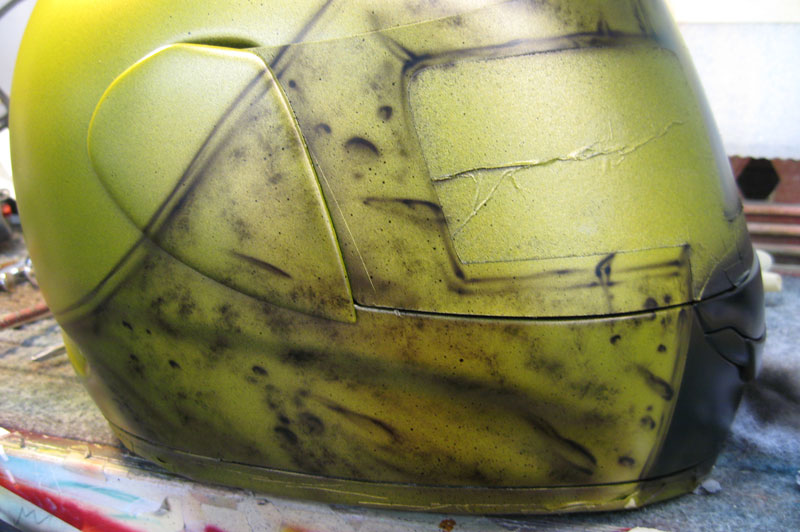
I am working in sections, adding pits and cracks, filling in with the filter texture and stippling.
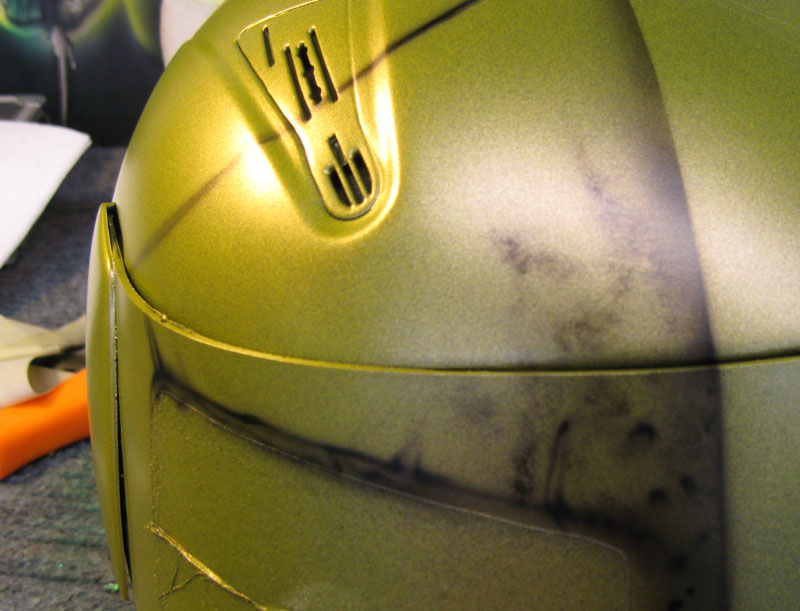
More texturing.
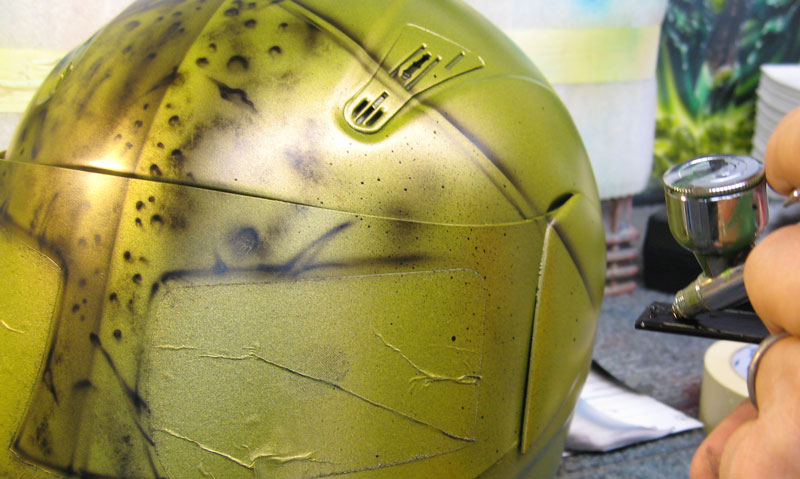
There are many ways to achieve a stippling effect. I like to use a paint stick and put my airbrush right up against it allowing the paint to pool, then get blown onto the surface by the air pressure. You can control the size of the dots by your distance from the surface and by changing the angle of your airbrush against the paint stick.
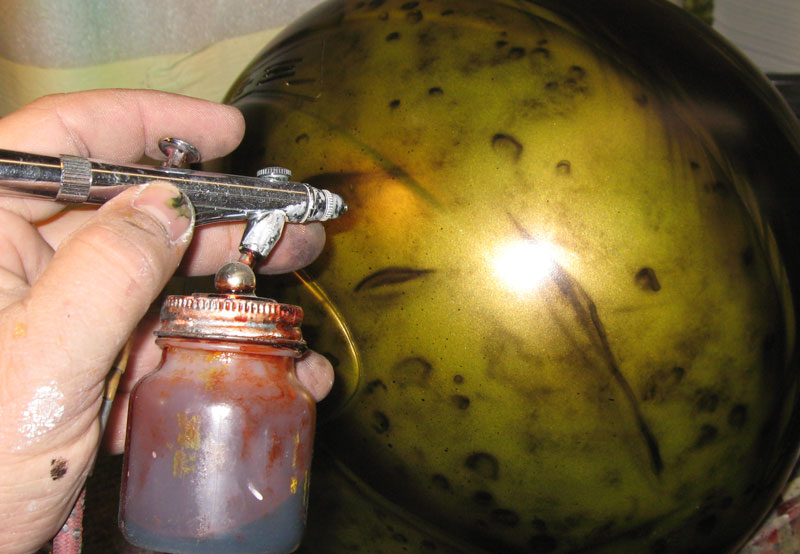
Once the entire helmet is covered with random wear and tear, I use an uneven application of kandy root beer all over the surface, creating further realism.
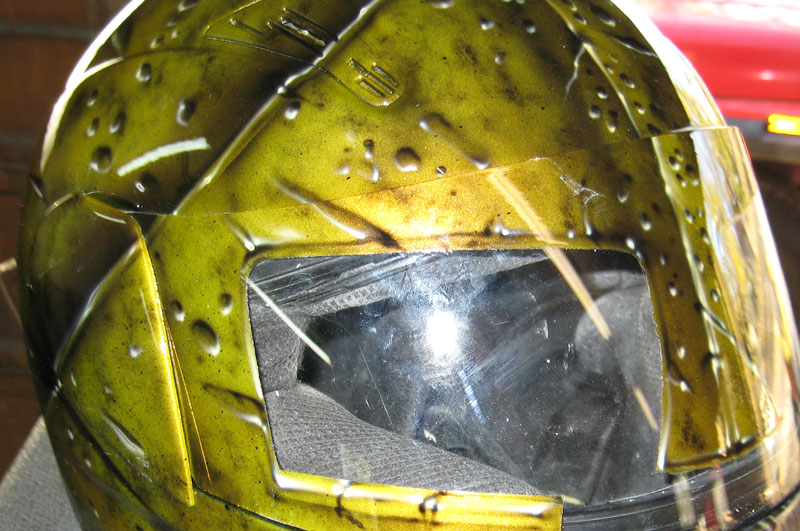
With my perfect white mix I go back through the helmet and add some highlights to further accentuate the cracks, pits and beveled edges of the helmet. Be sure to keep your light source consistent and only pick up the “hot spots” that would occur if the helmet were really this damaged.
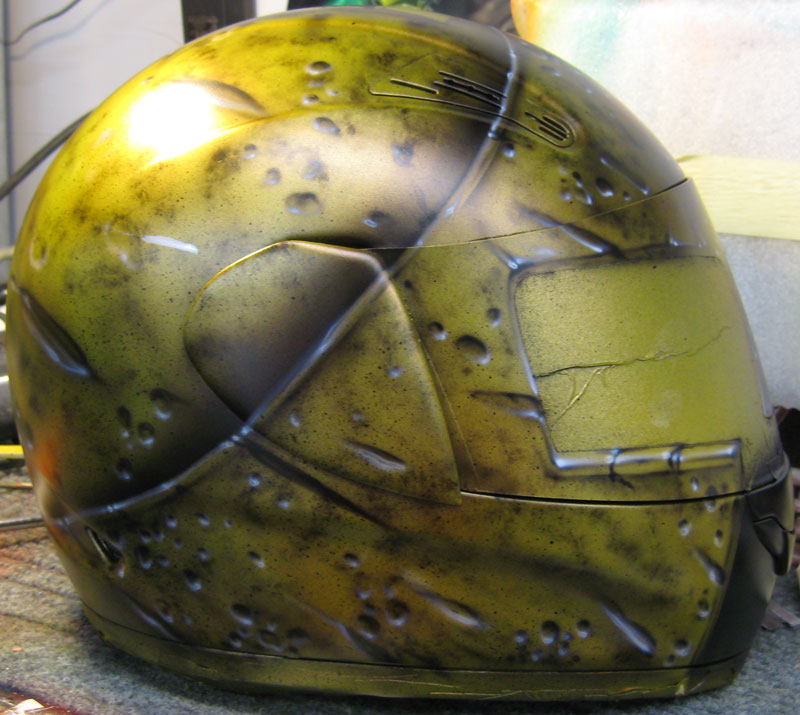
Here is a pretty good shot of the whole effect just after the highlights were applied.
Now, to knock the bright white back just a bit, I give the whole surface a Sunrise Kandy wash.
And here you have it with a shiny coat of clear!!