Learn Academy LIVE!! – 6/28/06
Airbrush Technique – PART I
Mike started a new lesson today that we will follow until he is done. The subject matter is perspective and reflection, and he has created a sketch and a file that has many elements that will help demonstrate both of these important subjects.
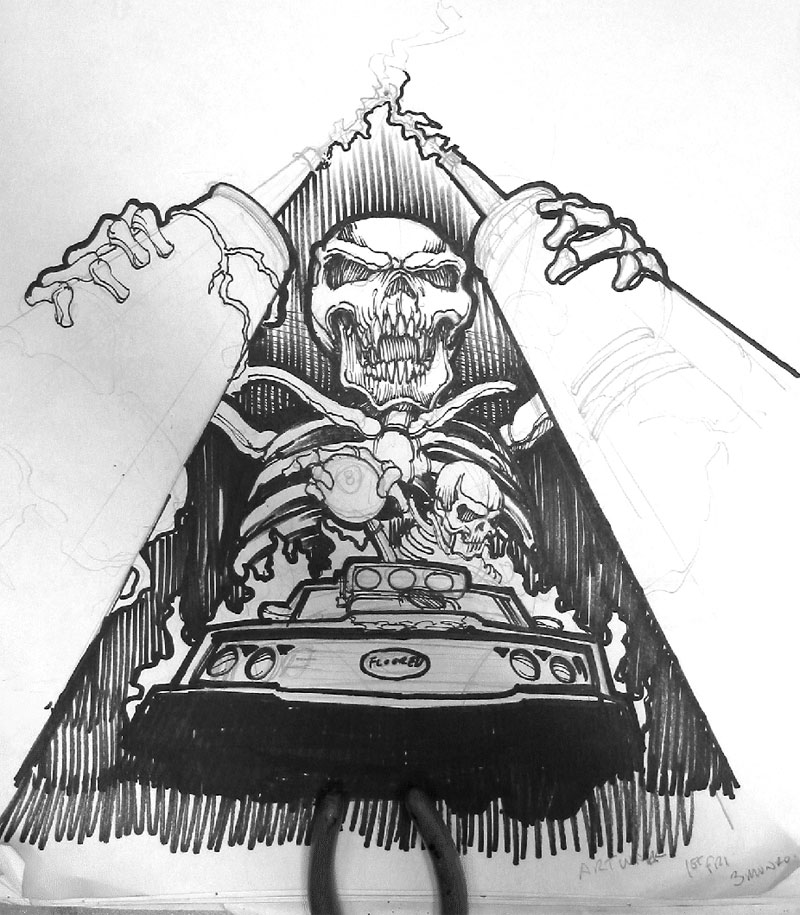
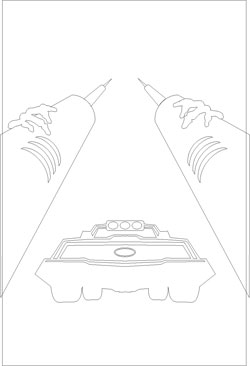
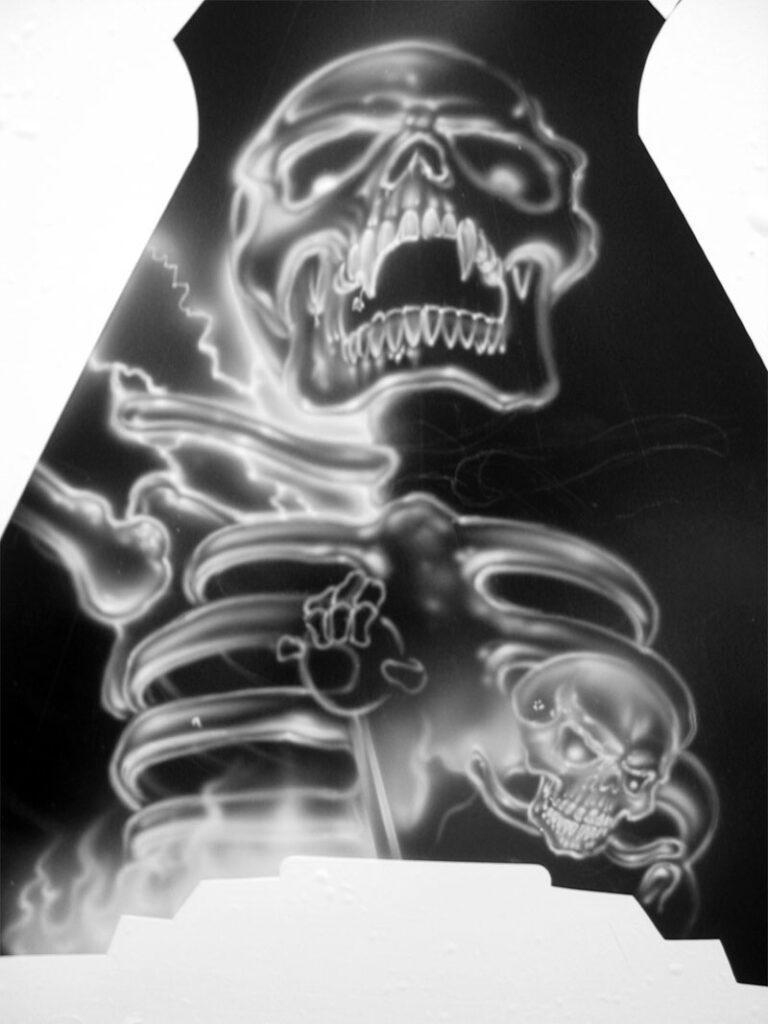
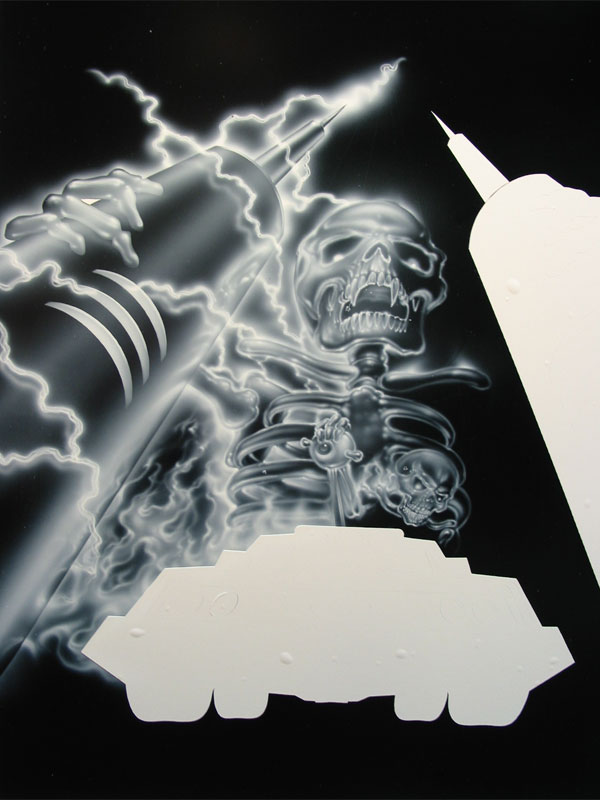
Notice How this composition has not only the exaggerated perspective of a small person looking up at a giant, but it also has many different light sources and reflective objects. Mike will use the sketch as his main reference, but he did create a mask file for some of the main elements. Notice how helpful a mask like this is … And yet it is so simple and quick to draw. Keep that in mind as you begin to integrate computer masking into your workflow. It does not ALWAYS need to be a complete and complex mask.
With the masks in place, Mike starts sketching in the characters. He starts with a few perspective lines and then using a Stabilo chalk pencil he does a rough sketch of the Giant Skelly. You can follow along the sketch process with the chat transcripts.
The head starts as a basic ellipse, because of the perspective, the top of the skeleton’s brow will be almost the top part of the skull. The cheek bones will wrap around and the jaw bone will come out from underneath them. The nose will be forshortened.
Using an ellipse as a guide for the rib cage, the ribs will look larger at the base because of the perspective. Every line is very important to establish the perspective. Be sure to read the transcripts as you study the sketch below. I did not get a picture before he dusted off the pencil lines… SORRY!
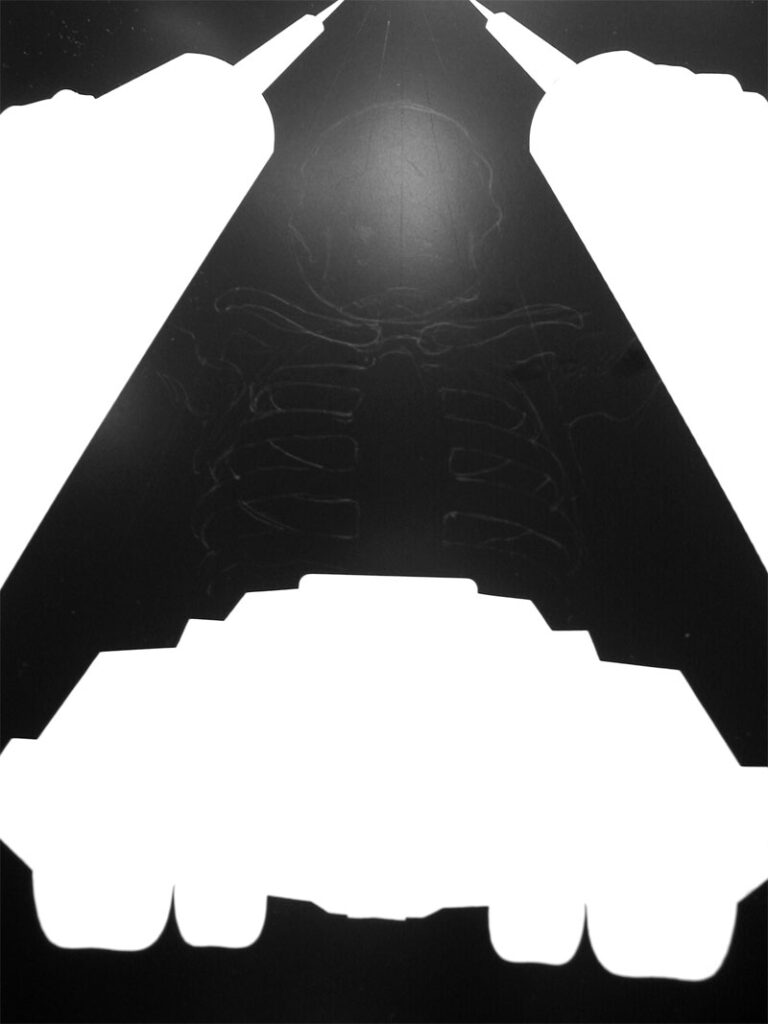
Once he completed the sketch. Mike went right to work with the white base for the design.
If you have not attended one of these LIVE classes, you should try to make it fit into your schedule. They are really extremely informative, and though the “chat speak” of the transcripts is a little strange… the information is invaluable. I often think that they need to be cleaned up and edited, but the time that would take is probably not really necessary.
Mike also used this class to R&D the new SEM paint and Mike Learn SEM kits from Bear Air. Those of you that were there were probably as floored as I was when Mike stated that this new mixture has replaced his long-time love, Spies Hecker.
With the white Mike defines light and dark contrasts. We have strong primary lighting from overhead, but will also have considerable secondary lighting sources from the fire on the burning car, the electrical storm in the sky and the strong reflections that will come from the chrome pillars that King Skelly is holding on to. Since the lighting must also reinforce perspective, there will be a lot of under-lighting in this piece.
As always you want to remember the rules of Core Shadowing. The Core Shadow is where primary and secondary highlighting meet and form a natural shadow. The edge of the core shadow will always be crisper towards the dominant light side.
Mike continues to work the piece, simply following the rules…. developing the loose sketch according to how it would react with the main light source, any secondary light sources and keeping in mind any reflections and the core shadow. While it sounds like a lot to be thinking about, if you approach each section of your piece in an organized fashion, laying highlights, shadow and reflection, it will become second nature.
This is as far as we got in Part 1. Mike has promised not to work on it outside of class time!
Learn Academy LIVE!! – 7/10/06
Airbrush Technique – PART I
The class picked up right where we left off last time. Mike did a quick recap of perspective pointing out the lines that must be followed all the way through to the end to make the piece believable. It is important that every element follows the rules of perspective in direction, interactivity and lighting.
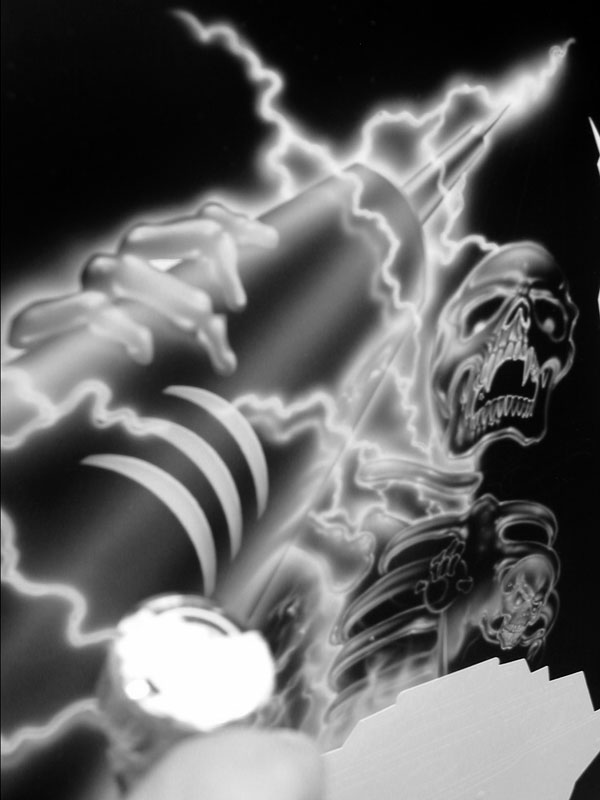
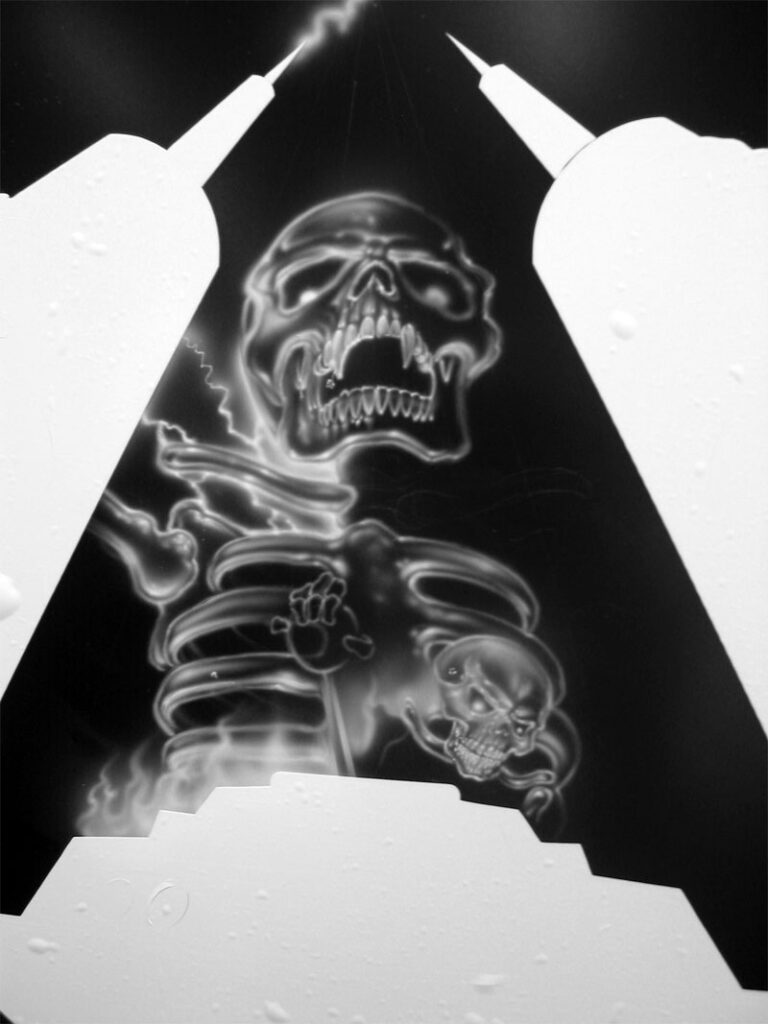
Mike worked a lot on the pillar. The pillar is a highly reflective object that is also emitting light from its inner core. Notice how crisp all the lines that define the pillars details are. Crisp lines represent a hard or shiny surface. Also notice how any of the horizontal lines on the pillar are following a perspective line and maintain the cylindrical surface itself. Also notice how the main reflections on the pillar taper as they reach the “ground”.
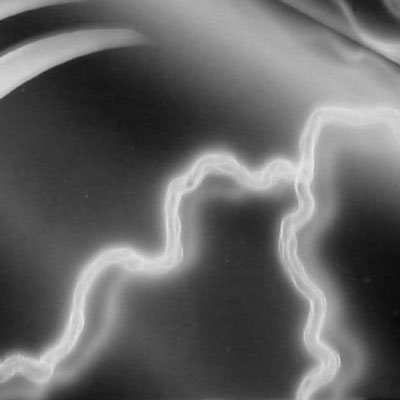
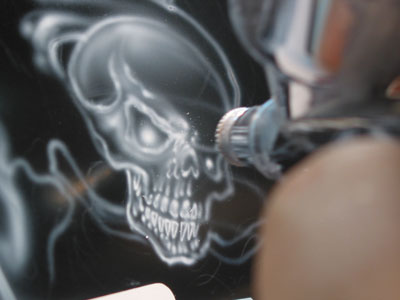
Here is a close up of a flood stroke. There were several in class who were unfamiliar with this term. Notice how the center of the stroke has somewhat of a negative space and see how the air pressure was used to push the paint along.
Be sure to read the chat notes as you look at the images. Mike explained how the use of crisper lines and sharper edges help bring things forward in the composition, while softer edges take them farther back. Notice here how the fire follows the lines of perspective as well and do not burn straight up. Look at all the reflection on the side of the pillar. Notice the skull being reflected and the fire.
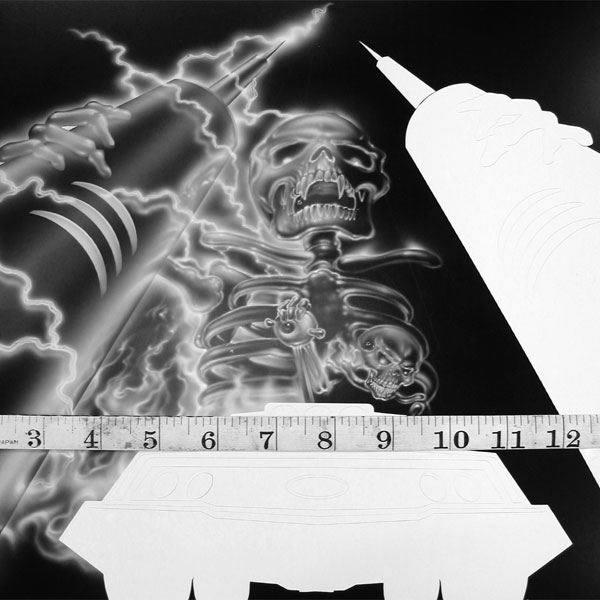
We had several questions about the scale of the piece. Here is complete shot with a tape measure for reference.
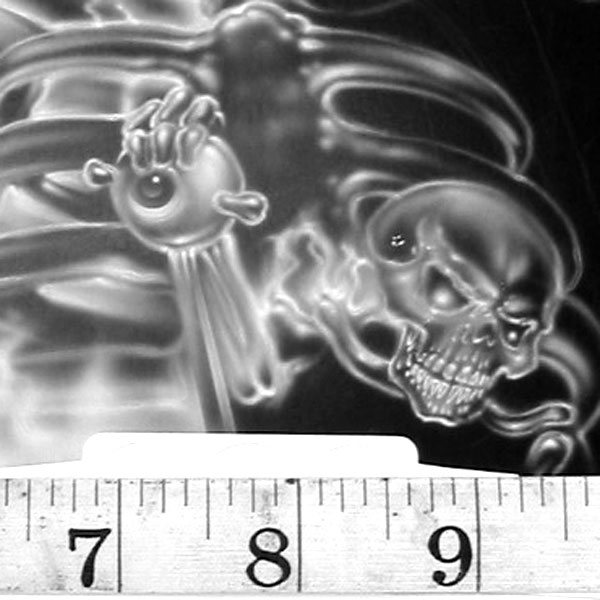
And here is a close up of the little guy driving.