German – American Flag Helmet with Rips, Tears, Brains and Bones
Well, we thought we would do something a little different with this How To. This is a helmet that I did for one of my repeat customers. He is German and wanted a racing helmet that depicted both the German and American flag, split by a design of my choice. I will focus on waving flags in this particular article.
The helment was prepped and taped and then sprayed white.
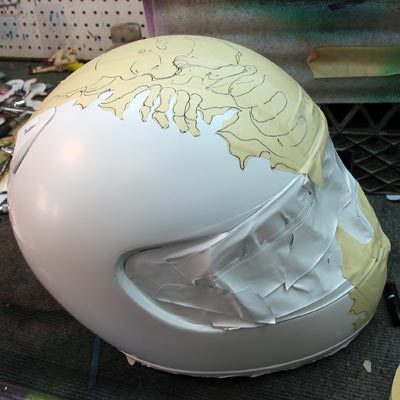
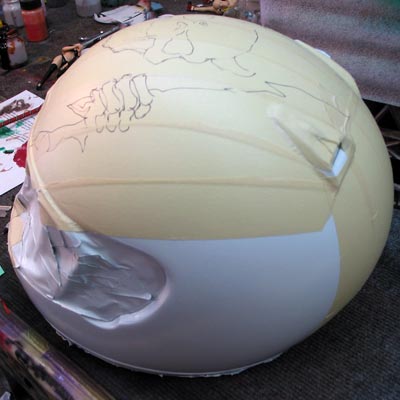
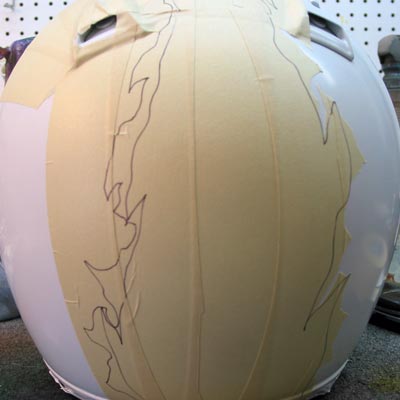
Because of the extreme curves on a helmet, I rarely use vinyl for masking. I started work on the piece by masking off the center portion with 2” masking tape. I will not be masking the flags. These will be done freehand.
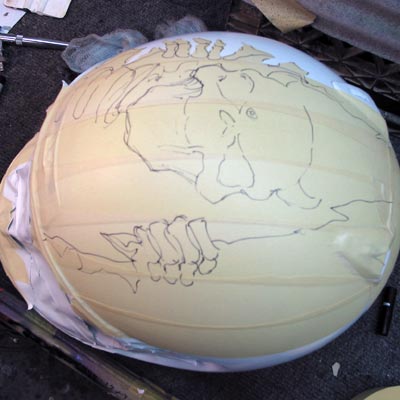
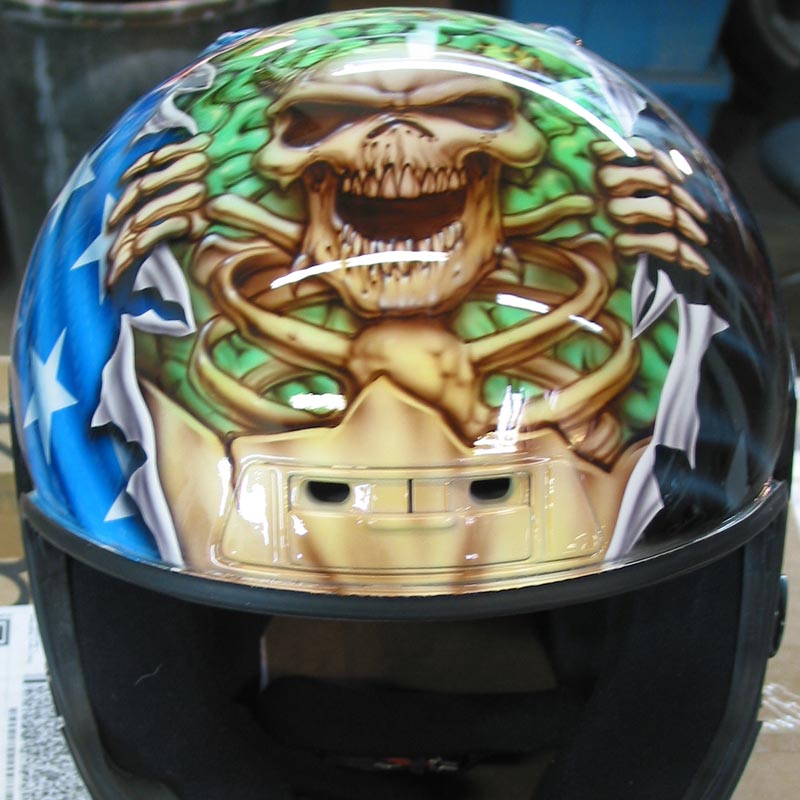
Using a sharpie, i quickly sketched out my centerpiece. I will have a skully peeking out of some brains. I am using rips and tears as the border graphic. Notice that I drew out the opening, and then drew in the tears. Once the sketching is complete, I cut out the design.
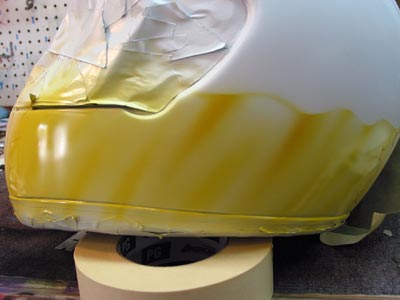
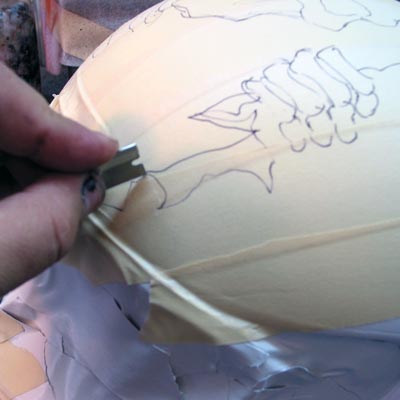
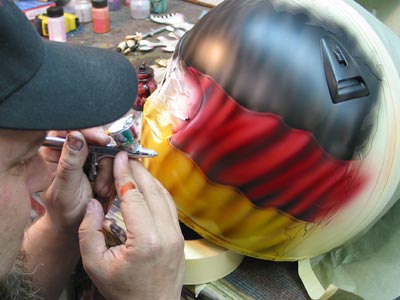
Notice that the cut was made along the tear area. Once the cutting is complete, i start on the flags. I start with SEM kandy sunrise. Using a loose had shield I define the edge of this stripe of color. A light color wash establishes the area and then I go back in and create the more saturated areas to create the illusion of waves and wrinkles in the flag fabric.
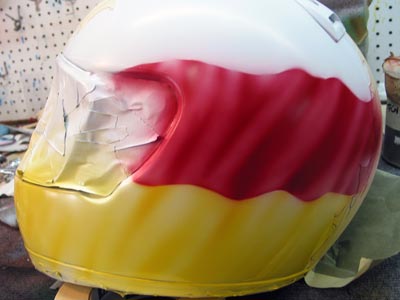
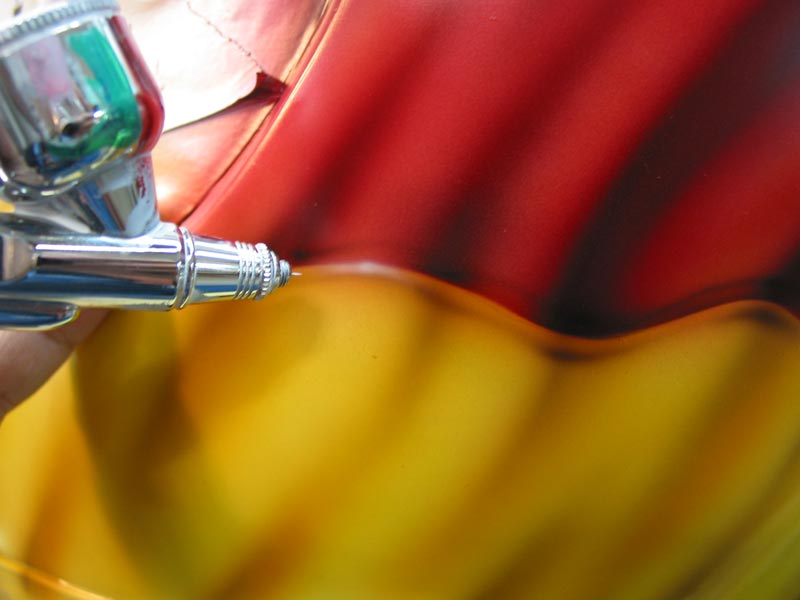
I do the same thing with SEM kandy Apple. In this next photo you can see the loose hand shield that i created for the flag edge. It is just a random razor cut on a color spray out card. The third color in the German flag is black. I repeat the same process with a thinned down black. Notice that the shadows and highlights of the folds and creases flow through each of the colors on the flag.

Once the colors are down, I mix a detail color of red and green with a bit of black. Even in a mural that contains black as a main color like this one, you do not want to use straight black for detail – it will decrease the look of realism.
With the detail color, I go back through the flag and darken up the shadows. I also create the look of a seam holding the horizontal colors together.
With the detail shadowing done, it is time to use a bit of white and make some strategic highlights.
The waves in the fabric have established a light source, so you want to make sure that your highlights follow the lead with your white.

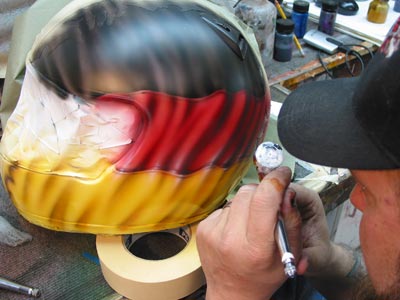
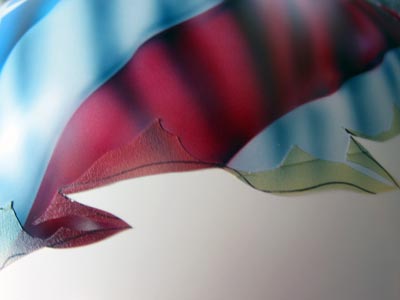
Here is a close up of the German Flag side.
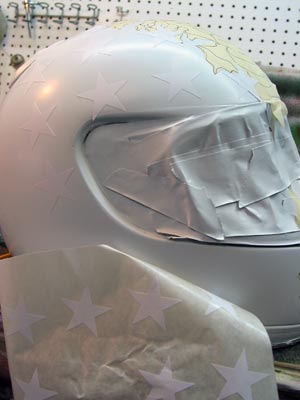
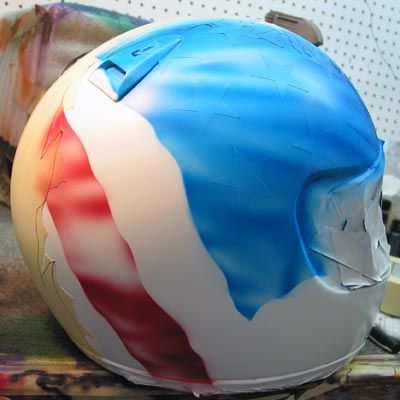
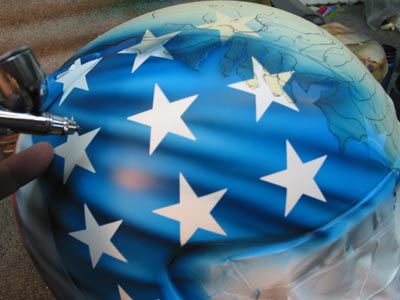
On to the other side, I start with the American flag. I cut out a series of stars on the plotter and placed them on the helmet before any airbrushing. Again I cut out a random edge loose hand sheild and went to work. Here I used SEM kandy Aqua and kandy Apple.
Again on this side i use the same technique to create the waves and ripples in the flag that is draped over the helmet.
For the detail color on the American Flag I used a blue and black mixture.
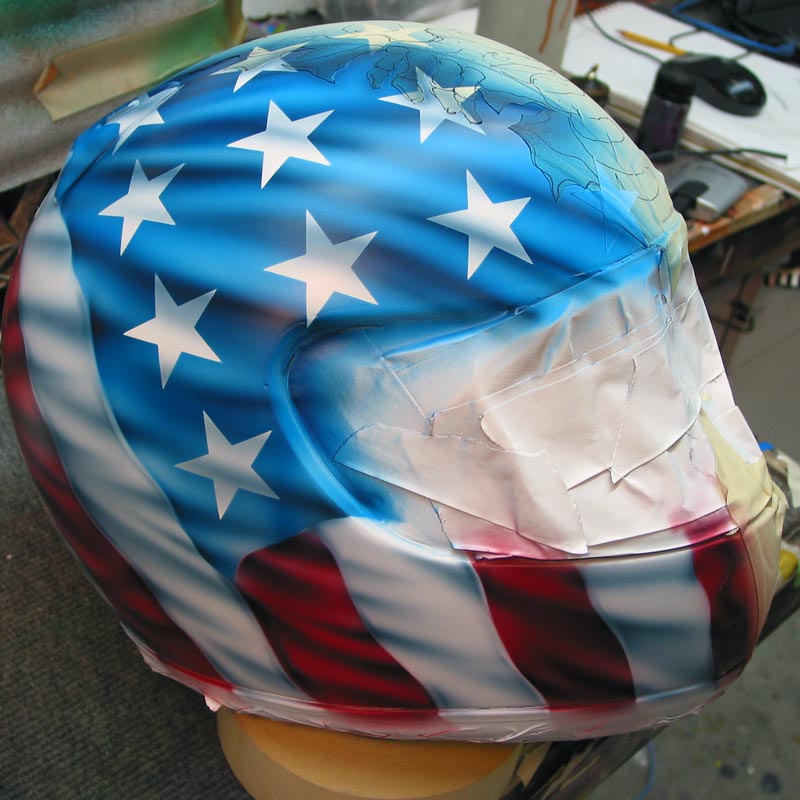
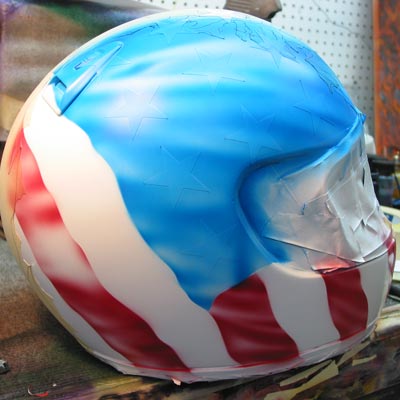
The shadow color is important here because you need the white stripe to flow and look natural. Dont forget that you need to remove the masking on the white stars and give them some shadowing to make them flow with the rest of the design. Notice again that the shadows and highlights give the illusion of a seam running between the pieces of colored fabric that make up the flag.
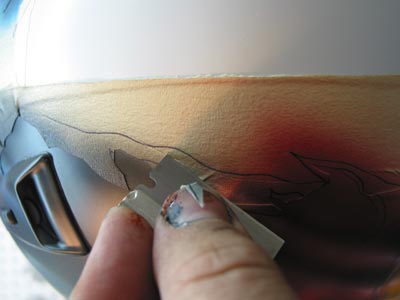
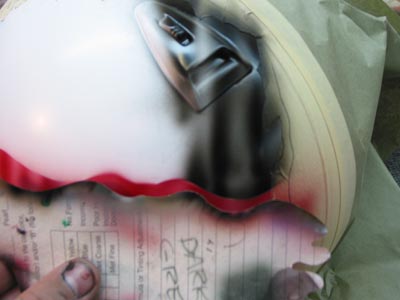
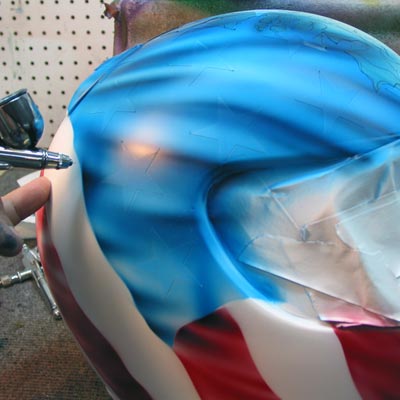
Here I am carefully cutting the tape to give me the “tear edge” where I will free-hand the brains and skull into the space.
The “ripped” metal pieces need to be shaded and the mural part will be added. Since we are focussing on the flag, we are essentially done here!
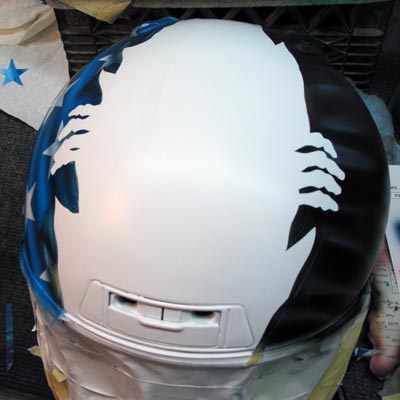
The airbrush work fits into the remaining area.
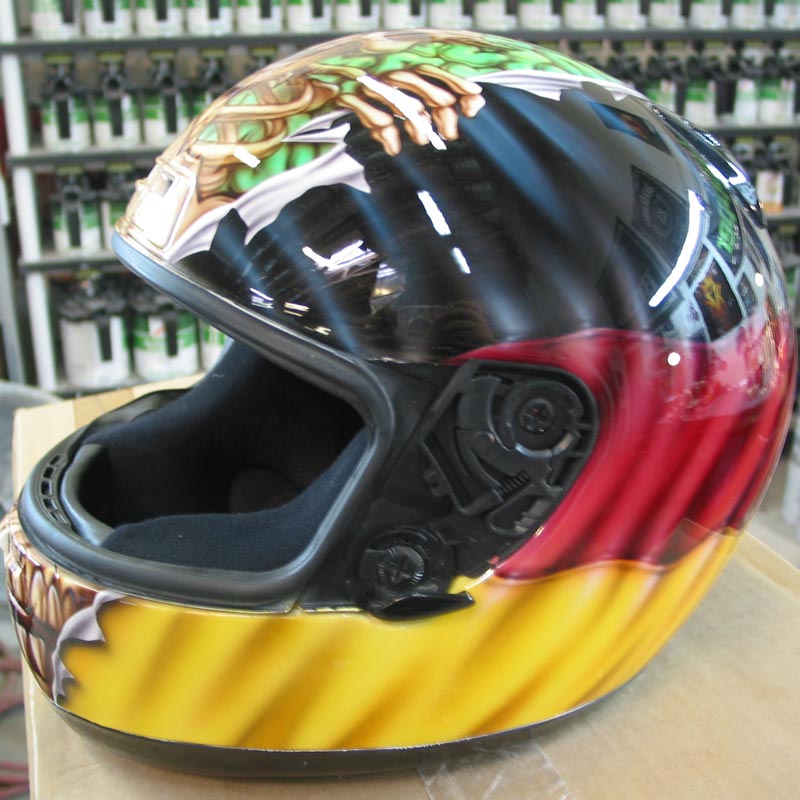
Here are a few completed shots.